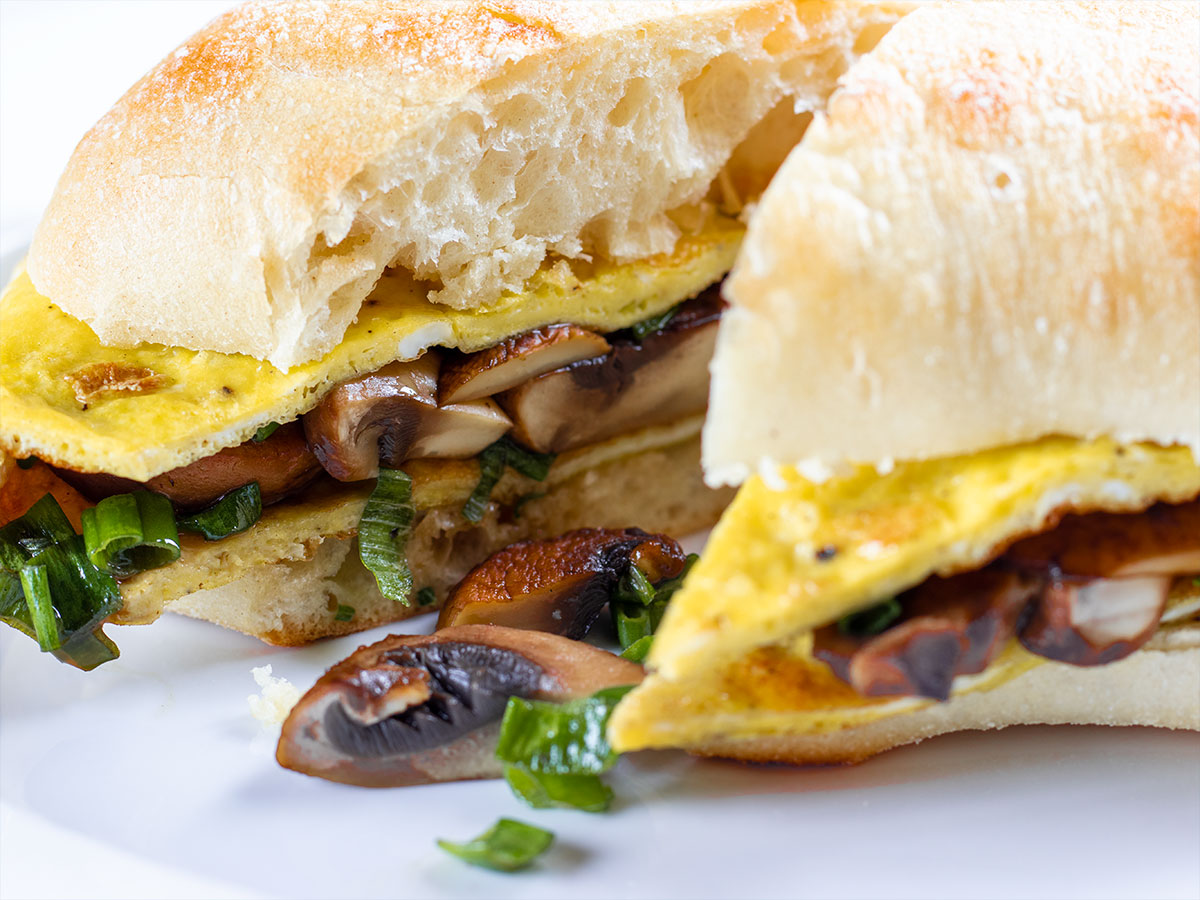
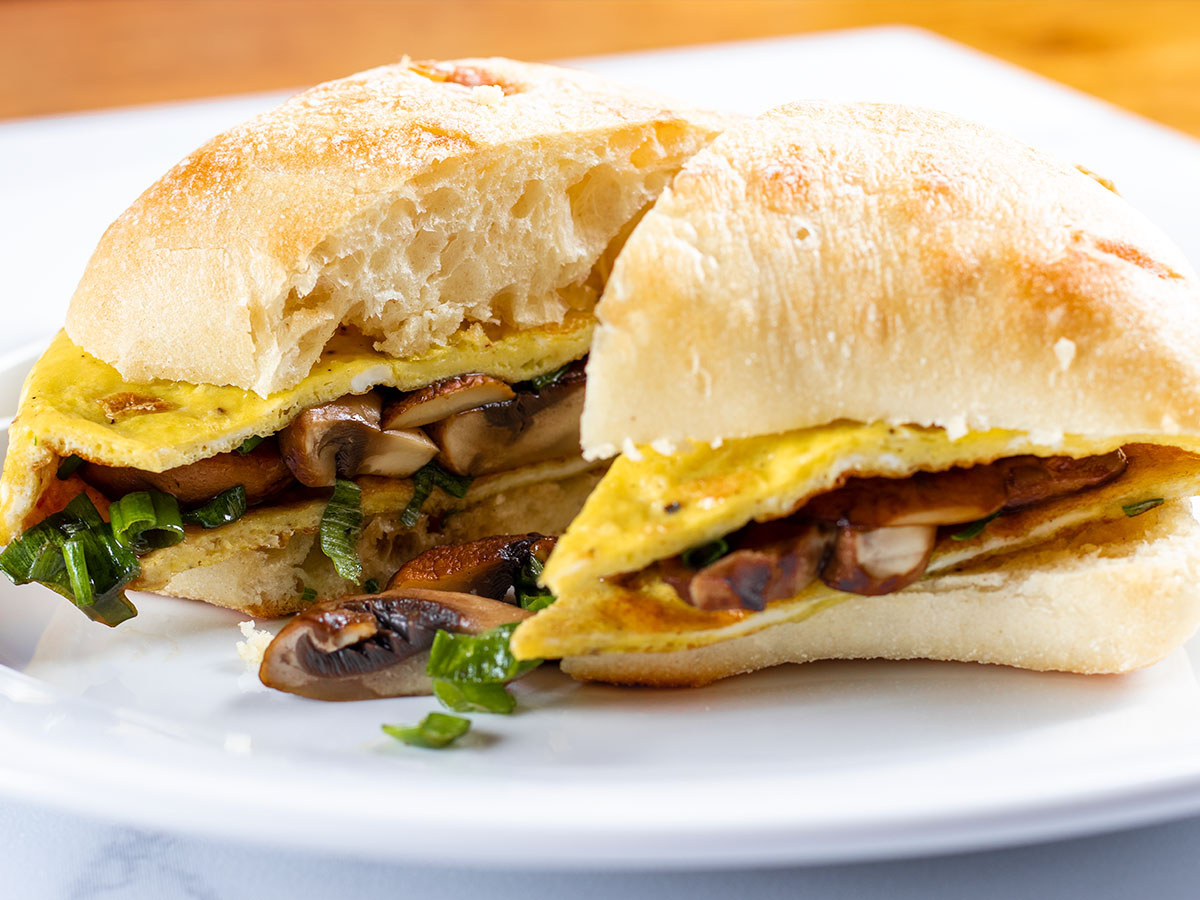
There are two things you’ll notice straight away after biting into this sandwich; the flavor of the mushrooms and the sweet softness of the ciabatta bread. That’s what I first noticed and it’s been the same every single time I prepare this dish. I absolutely love it. For such a simple recipe, there’s something about its result that’s just about perfect. I wouldn’t change a thing.
The Perfect Mushroom Omelette Sandwich
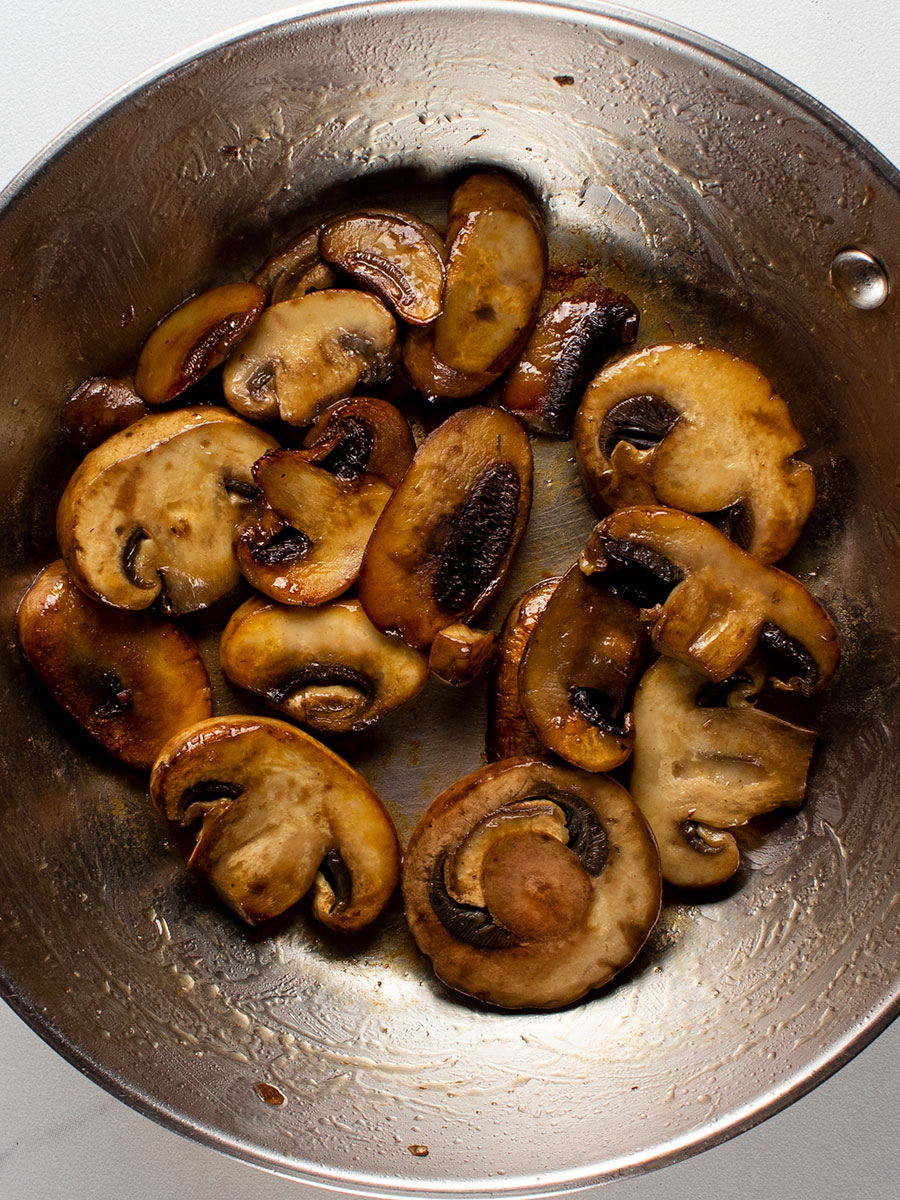
We’ve all likely tasted cheese omelettes or omelettes with onions or peppers inside, but there’s something special about the combination of ciabatta and browned mushrooms. Yes, as I mentioned above, the ciabatta is special in that it’s light and fluffy and soft and flavorful. But what I failed to delve into was how the browned edges of the baby bella or shiitake mushrooms add flavor to this dish. If you’ve never browned a mushroom before, you’re missing out. They’re incredible. That’s why it’s so important to properly cook them at times like this. Brown the mushrooms until they create what’s referred to as a fond at the bottom of the pan. The fond is a brown layer that looks sort of like whatever vegetable it is you’re cooking has almost burned. If you scrape the fond up with a fork and taste it, especially when you’re cooking mushrooms like these, you’ll find that you’ve uncovered a flavor yet known to exist in nature. It’s remarkable really and that’s what I find so appealing about this sandwich. It’s a secret flavor powerhouse, if prepared patiently and correctly.
Special Flavors of the Shiitake Mushroom
While grocery shopping, you’ll certainly notice white button mushroom. It’s the most widely cultivated mushroom in the world. You’ll likely also notice the baby bella – another insanely popular mushroom. Somewhere in the mix though, you’re likely to find what’s called the shiitake mushroom, and it’s this mushroom that’s actually the second most widely cultivated, right after the white button.
Growing up, I can remember the packages of those fluffy looking white mushrooms, but I never quite glimpsed the shiitake. That’s because it wasn’t nearly as available back then as it is today. Today, they’re everywhere, from Whole Foods to Hannaford to Publix. What a far cry from its origins in east Asian cuisine. And to be more exact, its origins that stem back to 1209, during the Song Dynasty in China.
What’s the oldest known cultivated mushroom in the world? Yes, you guessed it – the shiitake mushroom. The name shiitake is actually a Japanese word. The tree upon which the mushroom grew is called shii and the Japanese word for mushroom is take.
People take advantage of this mushroom when they want earthy, smoky, bold flavors. They’ve got a meaty, yet smooth and buttery texture when properly cooked. You’ll find this type of mushroom in a wide variety of dishes, from elegant and sophisticated to good ol’ down home pizza and pasta dishes.
How do you extract the most flavor from shiitakes? For a roasted, charred, and smoky flavor, sear them. For a somewhat sweet, salty, umami flavor that’s combined with something that’s akin to caramelization, nuttiness, and something buttery, go with some roasting. Personally, I always pan fry my mushrooms in butter as I explained above. Nothing beats the browning.
History of Ciabatta Bread
It was all about competition. Apparently, French baguettes had taken Europe by storm and the Italians didn’t appreciate that very much. Yes, they loved the baguette because of its texture and taste, but they wanted a loaf they could call their own.
In 1982, a baker near Venice named Arnaldo Cavallari went to work and developed a small loaf of bread called ciabatta, which, interestingly enough, translates into English as slipper (due to the loaf of bread’s shape). Looking at a loaf of ciabatta, one might think it firm and somewhat crusty, but it’s actually anything but.
The reason this type of bread became so popular in Europe and the United States during the 90s is its tender, soft, and fluffy texture. It’s the perfect sandwich bread.
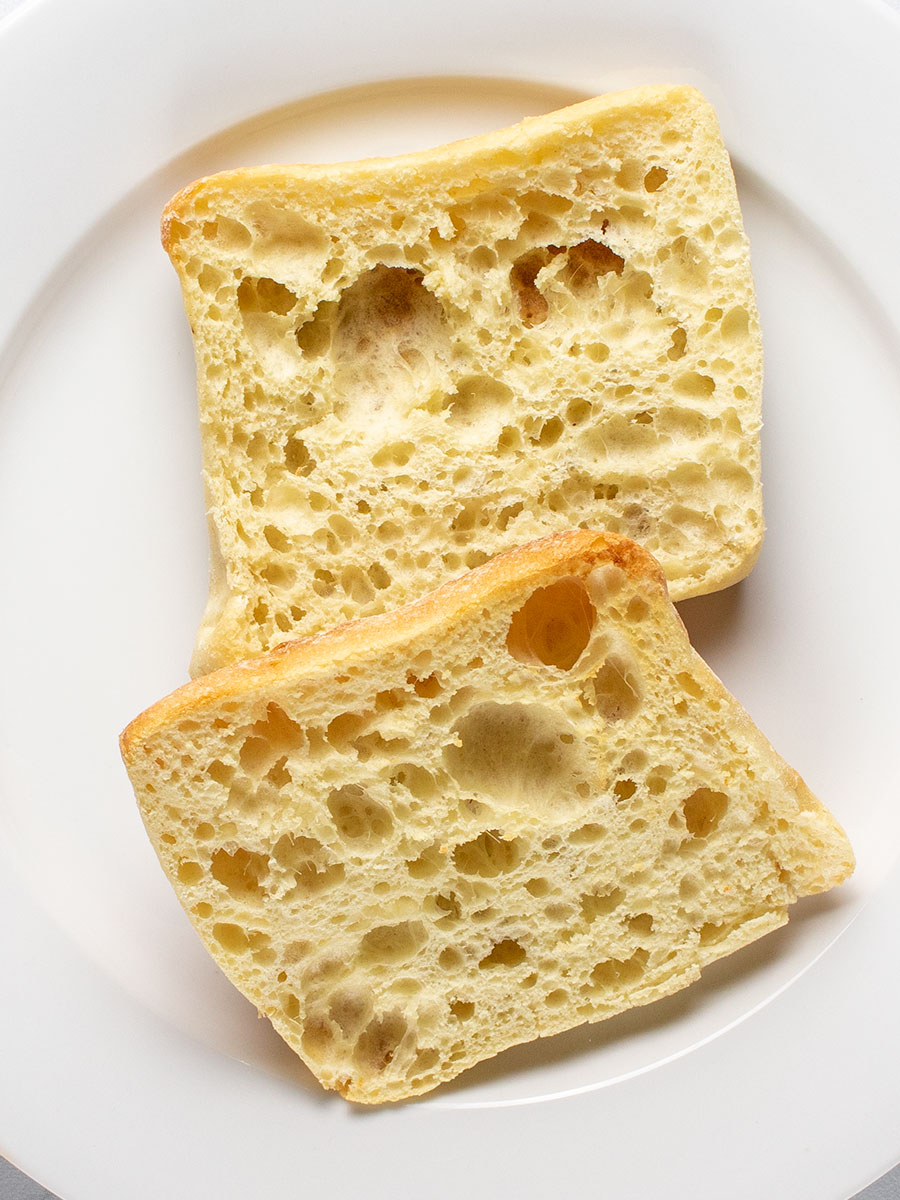
What’s the difference between the French baguette and the Italian ciabatta? Well, the baguette uses less water while being prepared, creates smaller holes in the interior while being baked, and comes out of the oven much more golden brown than a loaf of ciabatta does. On the contrary, ciabatta uses more water, giving it a much more doughy texture, creates larger holes in the interior while being baked, which creates a more tender loaf, and uses a more robust flour, resulting in a more delicate, sweet taste. As I mention above, fresh ciabatta is the perfect sandwich bread. It’s tender, yet tough, and you can hold it with both hands as you dive into what it is you’re eating.
Mushroom Omelette on Ciabatta Ingredients
Below, I’ll give a quick list of the primary ingredients you’ll need for this dish. I’ll also offer photos of each. For the complete list of ingredients and their suggested amounts, please see the recipe card below.
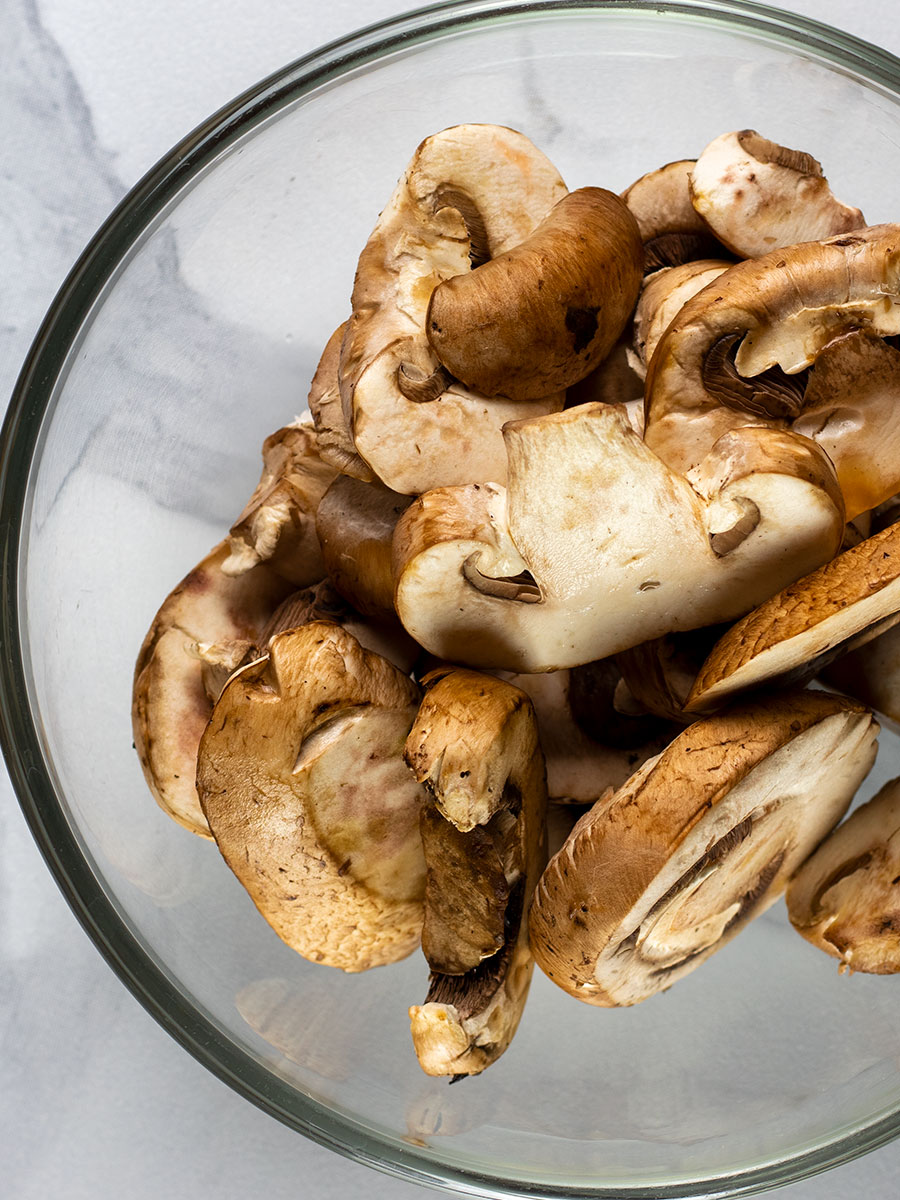
Mushrooms – I talk a lot about shiitake mushrooms in this post, but since I’ve prepared this dish so many times, I actually used baby bellas this time around, just to mix things up. Truth be told, any mushroom that’s pan fried in butter is going to be insanely delicious – baby bellas included.
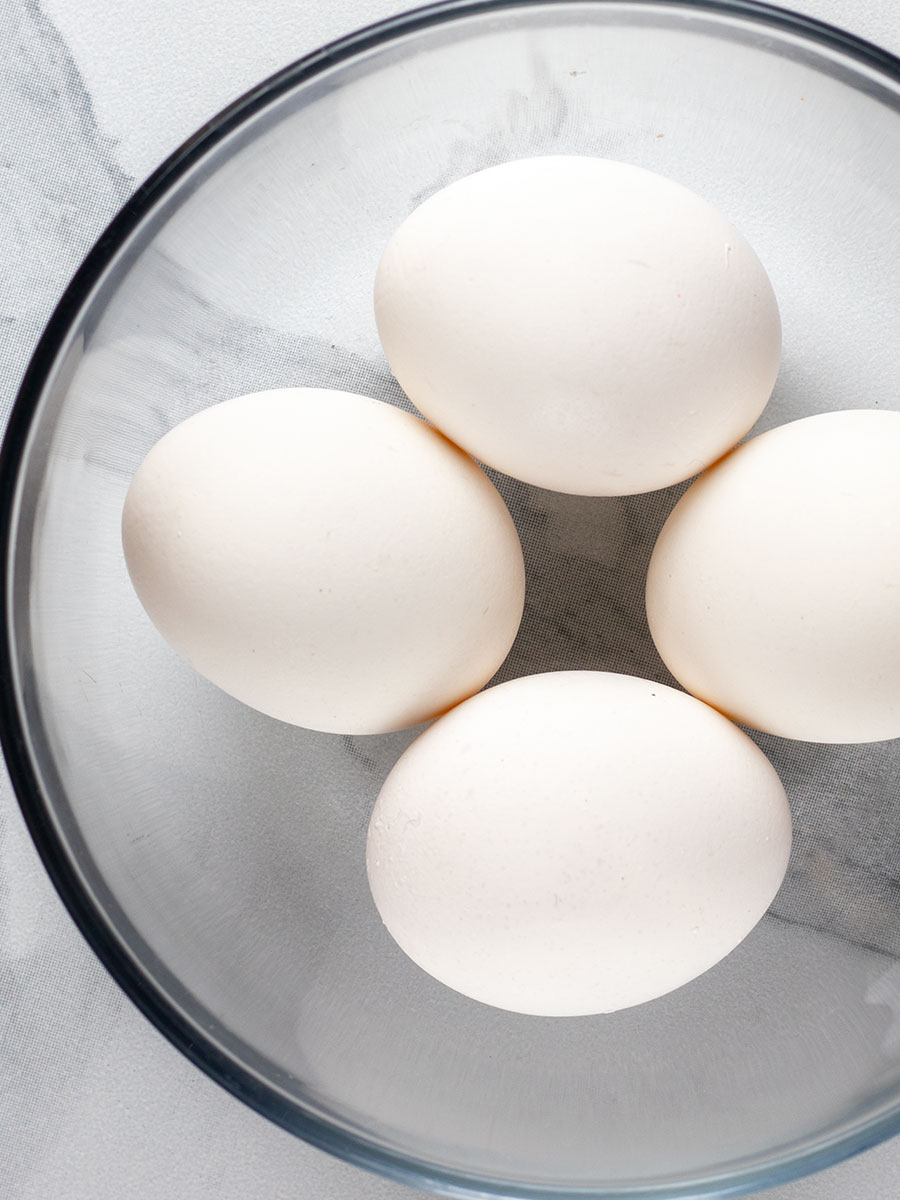
Eggs – You’ll need four eggs for this dish. If you want to go big, use six and make them cage free farm fresh. You can’t beat that.
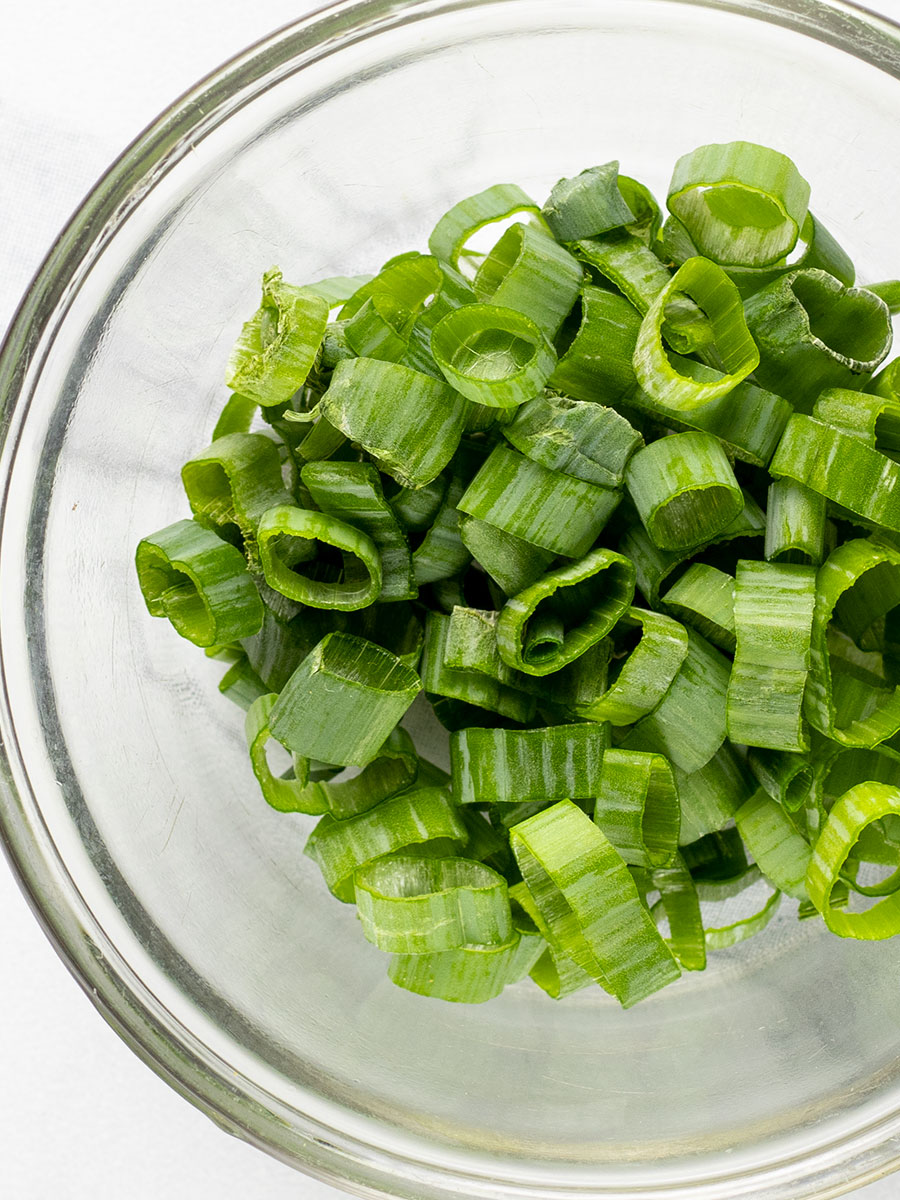
Chives – Chives are perfect for this sandwich, but so are scallions. Use what you can find.
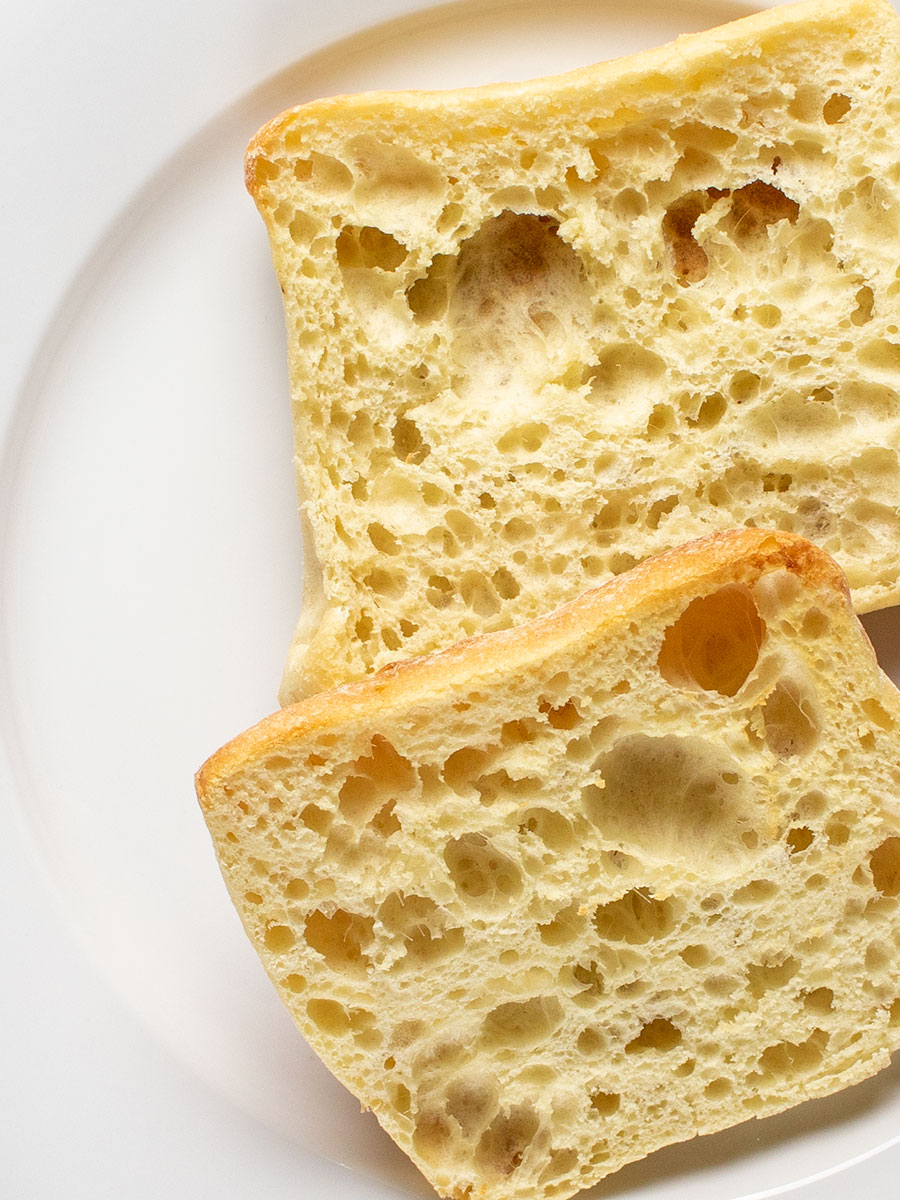
Ciabatta – The crux of this dish. You’ll definitely need ciabatta. You can’t do this without it.
Pro Tip
When sautéing either the shiitake or baby bella mushrooms, but sure to keep the heat reasonable. I would say a nice medium-high is fine. The goal is to avoid burning the mushrooms or even cooking them. What you’d like to do is brown the flavor right out of them. You’re goal is to extract the flavor that’s hidden inside. How do you do that? Use a smaller frying pan than the normal size to keep the pan’s heat concentrated; one that fits on the smaller burner of your stovetop (well, this depends on how many mushrooms you’re working with. A lot? Obviously use a larger pan). Then, add a generous amount of butter to the pan – in this case, a tablespoon. Add a pinch of salt to the pan as well. Keep the heat on medium-high and use a fork or spatula to gently move the mushrooms every few minutes. You don’t want them to burn, so it’s important to stir them here and there. After a few minutes of cooking, you’ll see their moisture begin to release and shortly after that, you’ll notice the edges of the mushrooms turn brown. You’ll simultaneously notice that the bottom of the pan is browning as well. That’s the fond I mentioned earlier. That, along with the brown edges of the mushrooms, is where the flavor will be derived. Keep cooking for a minute or two and then remove the mushrooms from the heat. If you taste one, your socks should be knocked off.
How to Cook the Perfect Omelette
Cooking a perfect omelette is easy. It’s all in the prep. If you attempt to willy-nilly throw an omelette together and use an improperly sized pan, don’t warm the pan, and don’t use a clean pan with butter or oil, you’ll have a terrible experience. The trick is to take your time and to use proper gear.
For today’s recipe, you’ll be making a four egg omelette that’s later cut in half. So you’ll need to use at least a nine inch stick-free (or very well seasoned cast iron) frying pan. Warm the pan over medium-low heat and add at least a tablespoon of butter or olive oil. Beat and season the eggs and when the pan is to temperature and the butter is melted and covers the entire bottom of the pan, add the eggs. Wait a minute or two until the bottom of the eggs firm up a bit and then, with a spatula, lift the edges of the omelette about an inch or so. Then, swirl the loose eggs around the edge of the pan so they fill in the gaps under the cooked eggs. What you’re trying to do here is cook all the eggs without flipping the omelette. If you’re expert level and you think you can flip the omelette, go for it. I usually do, just to make sure the eggs are thoroughly cooked. I also own a huge spatula, which helps. Most people don’t flip though because the skin of the omelette is stronger on the bottom and therefore doesn’t tear when folded.
When the eggs are cooked, add your filling and fold the eggs in half over the filling. Cut and serve. There you have it. The perfect omelette.
Equipment Needed to Cook this Omelette
You don’t need much to put this dish together. You’ll need a chef’s knife to slice your mushrooms, chives, and ciabatta bread, a cutting board upon which to do this cutting and slicing, a medium sized bowl and a fork to whisk your eggs, a toaster to lightly toast your ciabatta bread (if desired), and two frying pans; one to brown the mushrooms and the other to cook the eggs. That’s about it.
How to Prepare this Mushroom & Chives Omelette Sandwich
To prepare this dish, please use the contents inside the recipe card below. These quick instructions are a mere overview. These instructions include photos, so that’s why I’m adding them here.
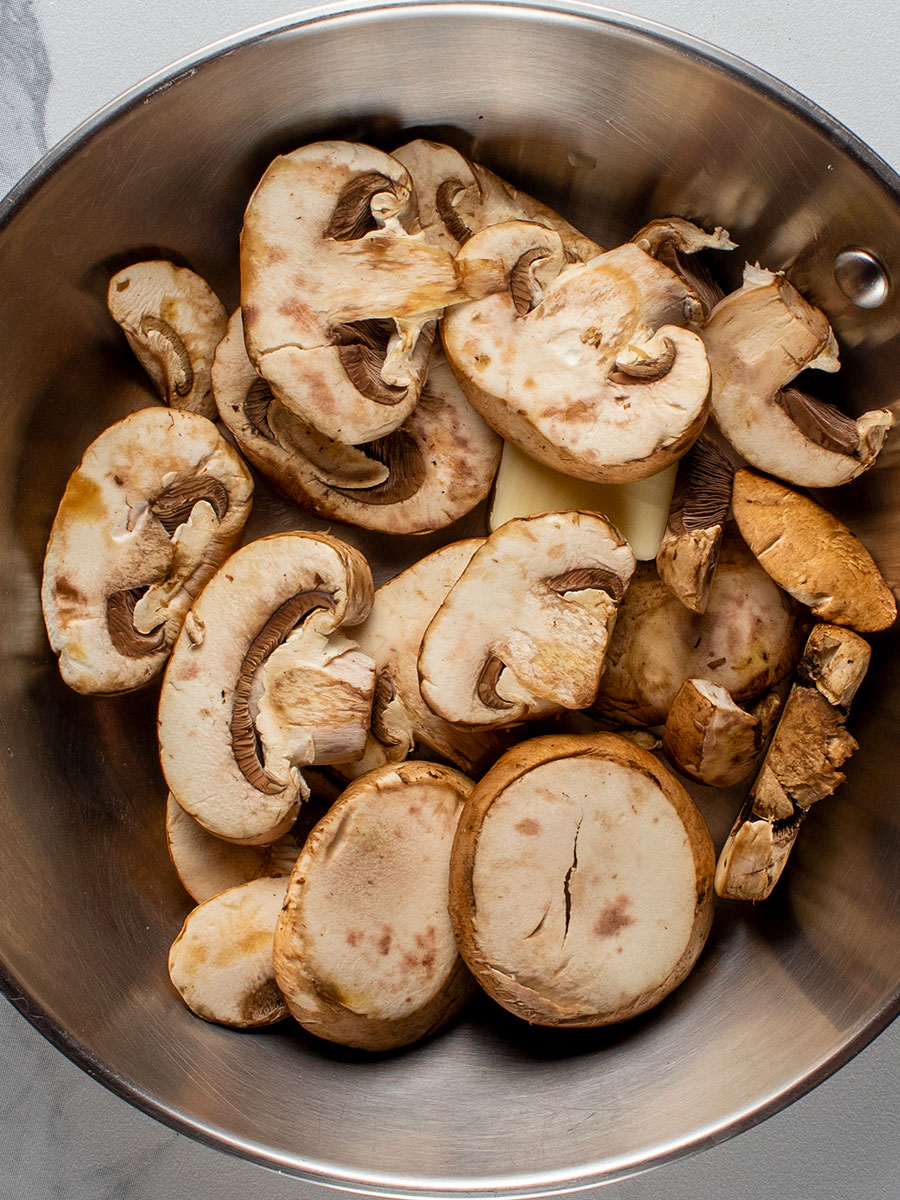
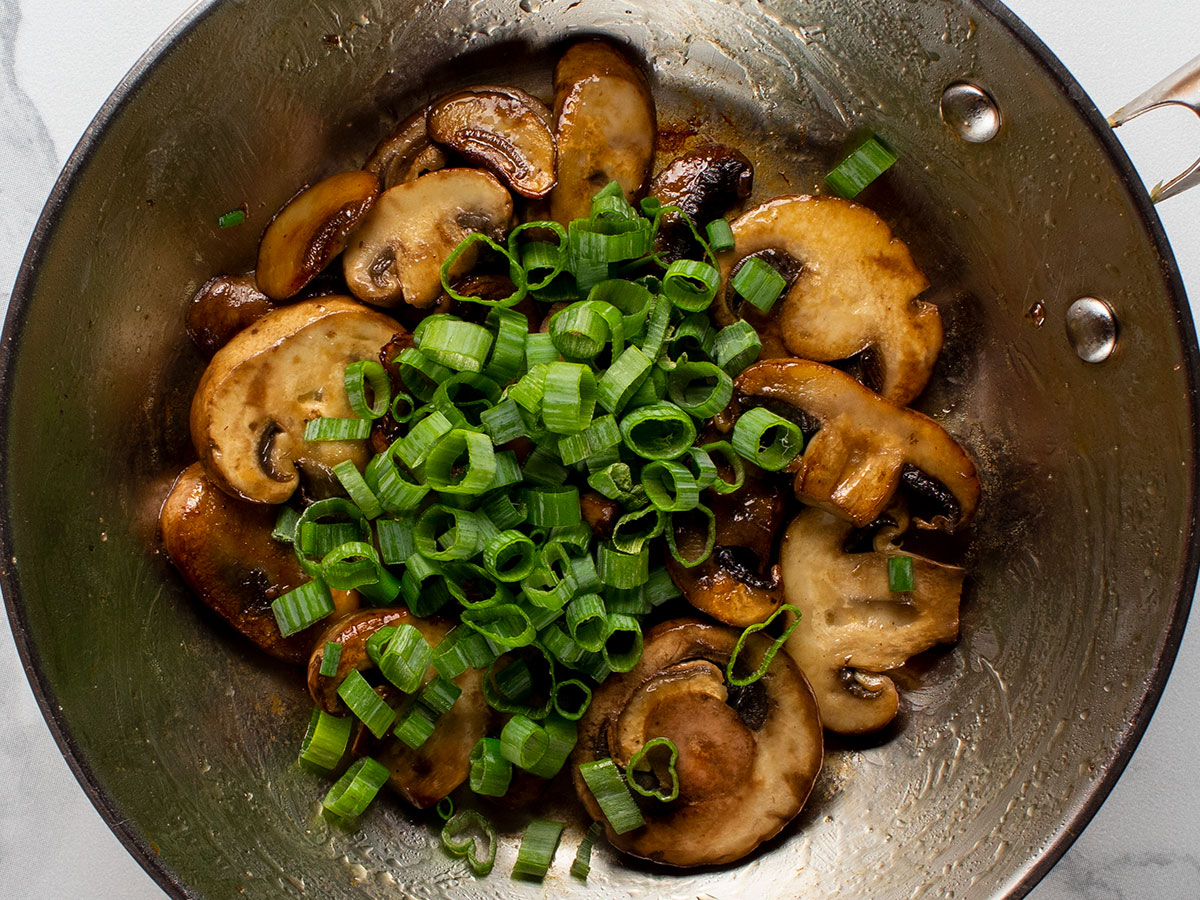
To start, warm a frying pan over medium-high heat. Add some butter and when melted, add the mushrooms. Cook until somewhat browned. When finished, add the chives or scallions and stir together.
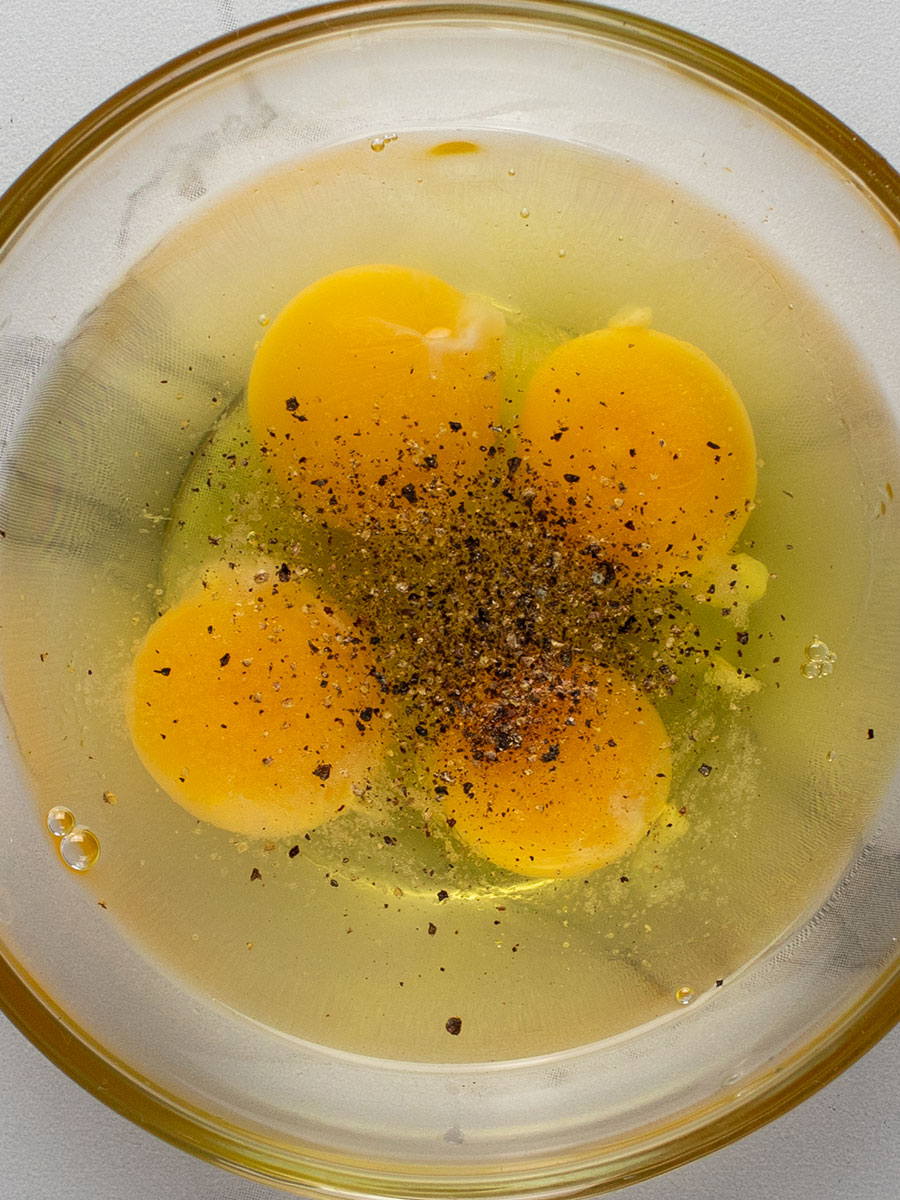
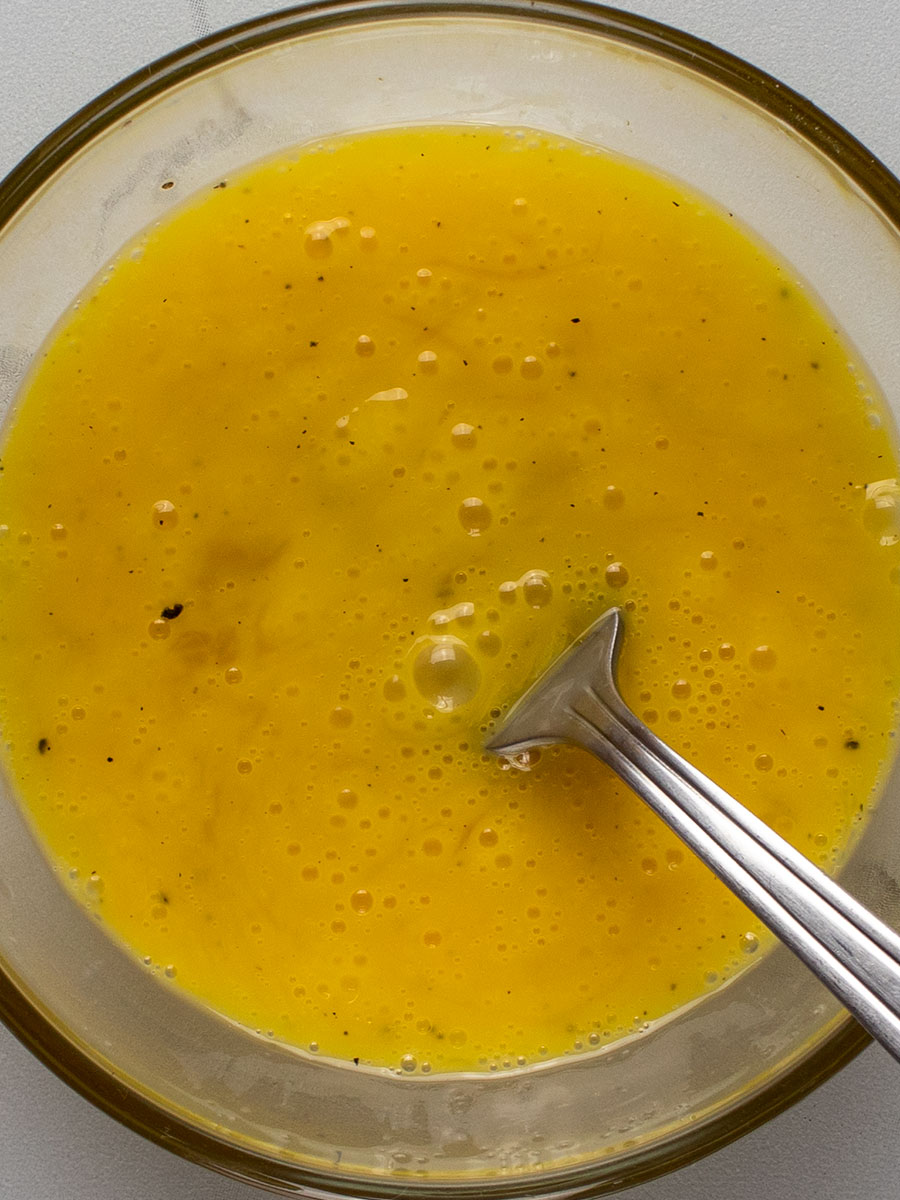
Next, whisk the seasoned eggs in a medium sized bowl.
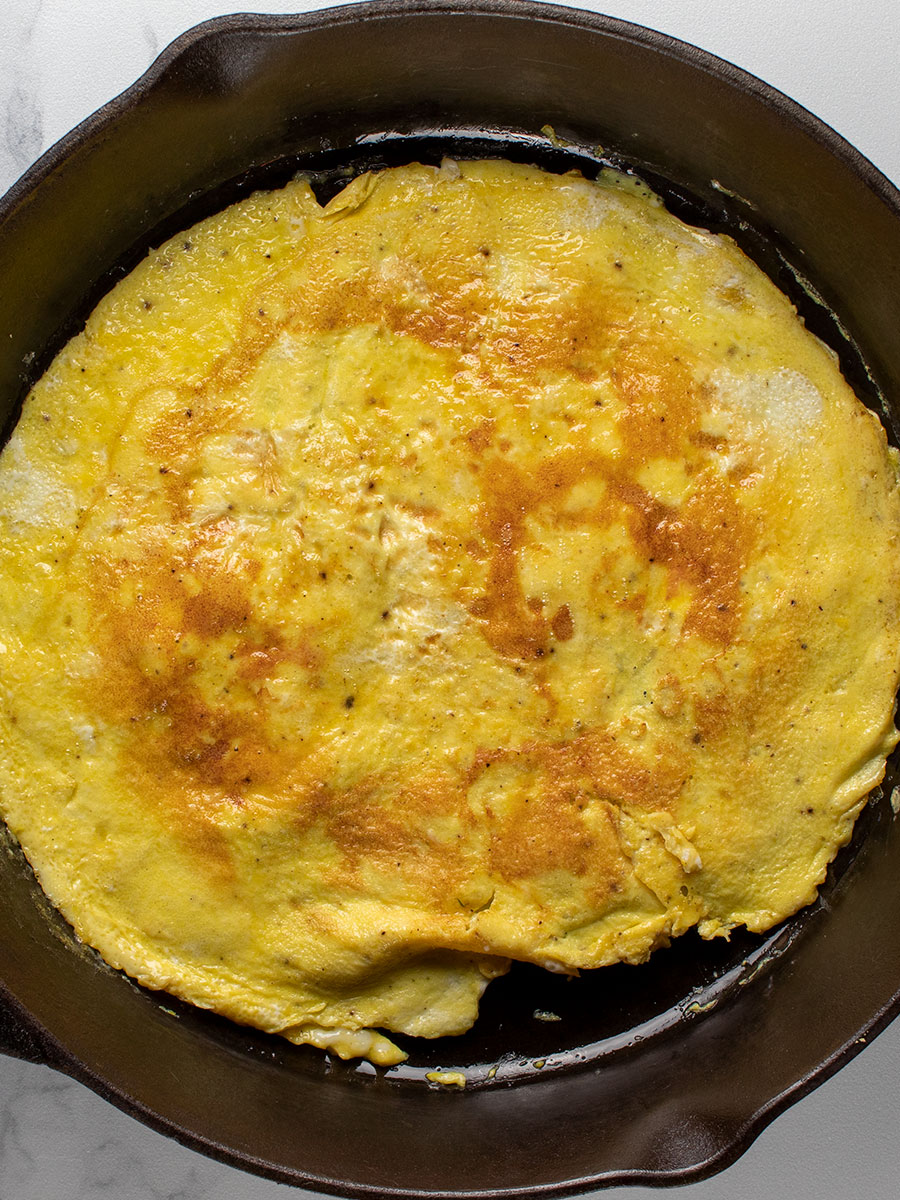
Warm a skillet over medium-low heat. Add the remaining butter and cook the omelette as indicated above in this post. When finished, add the filling and fold the eggs over them.
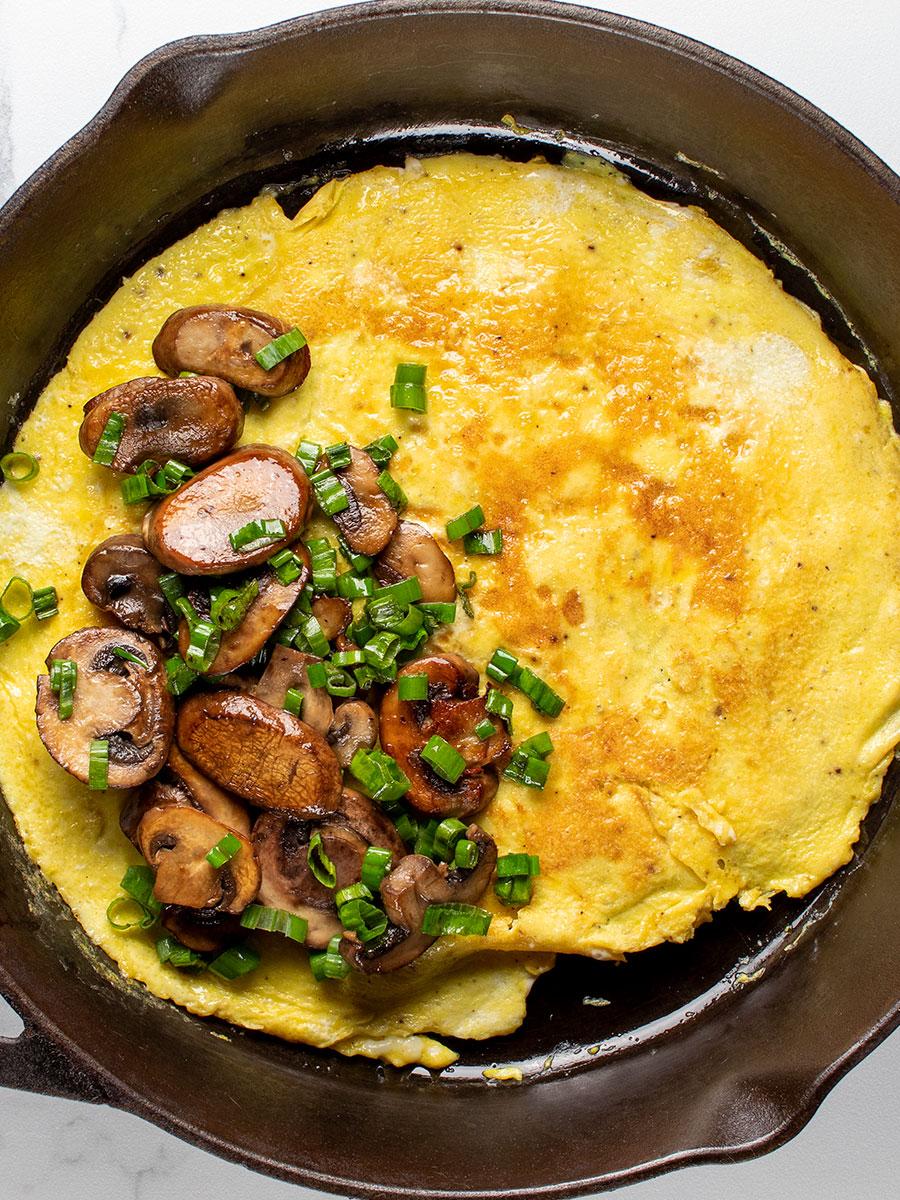
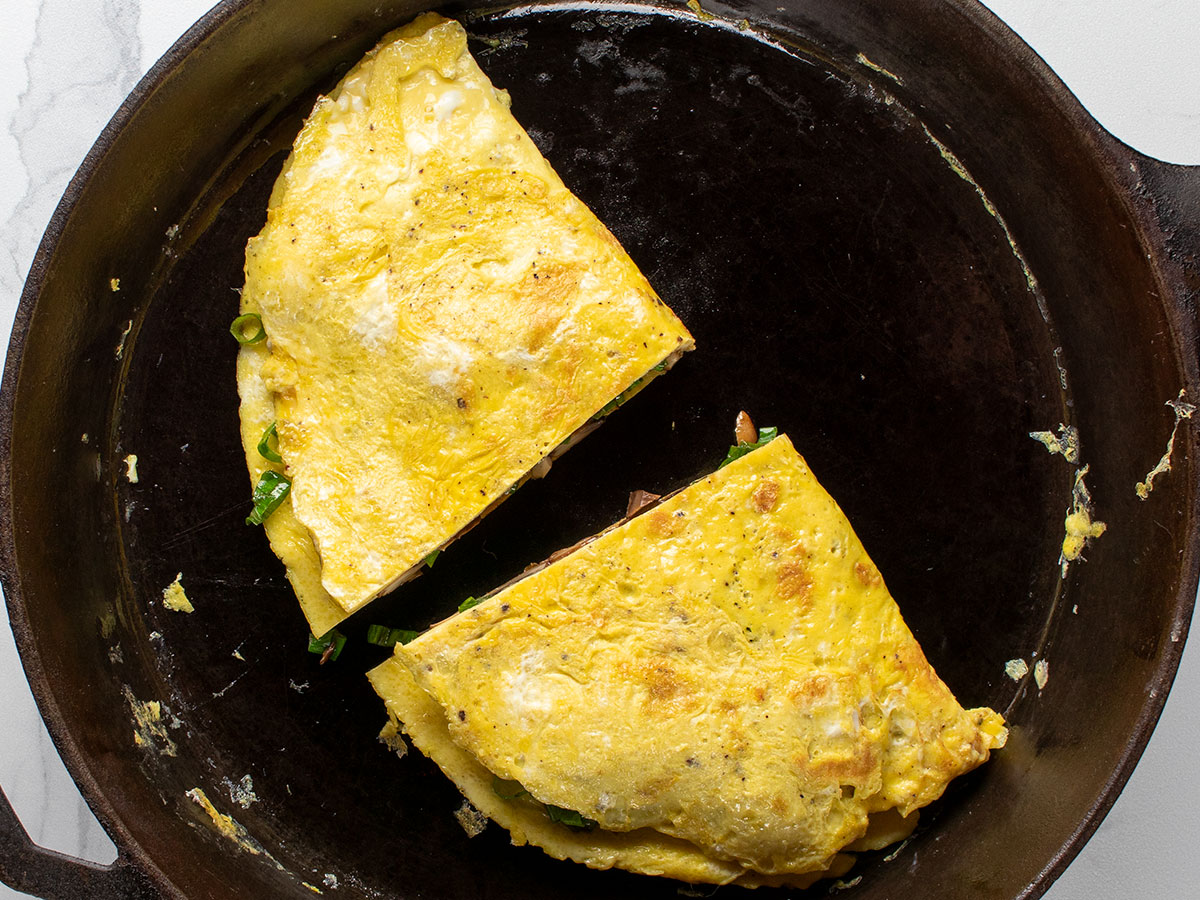
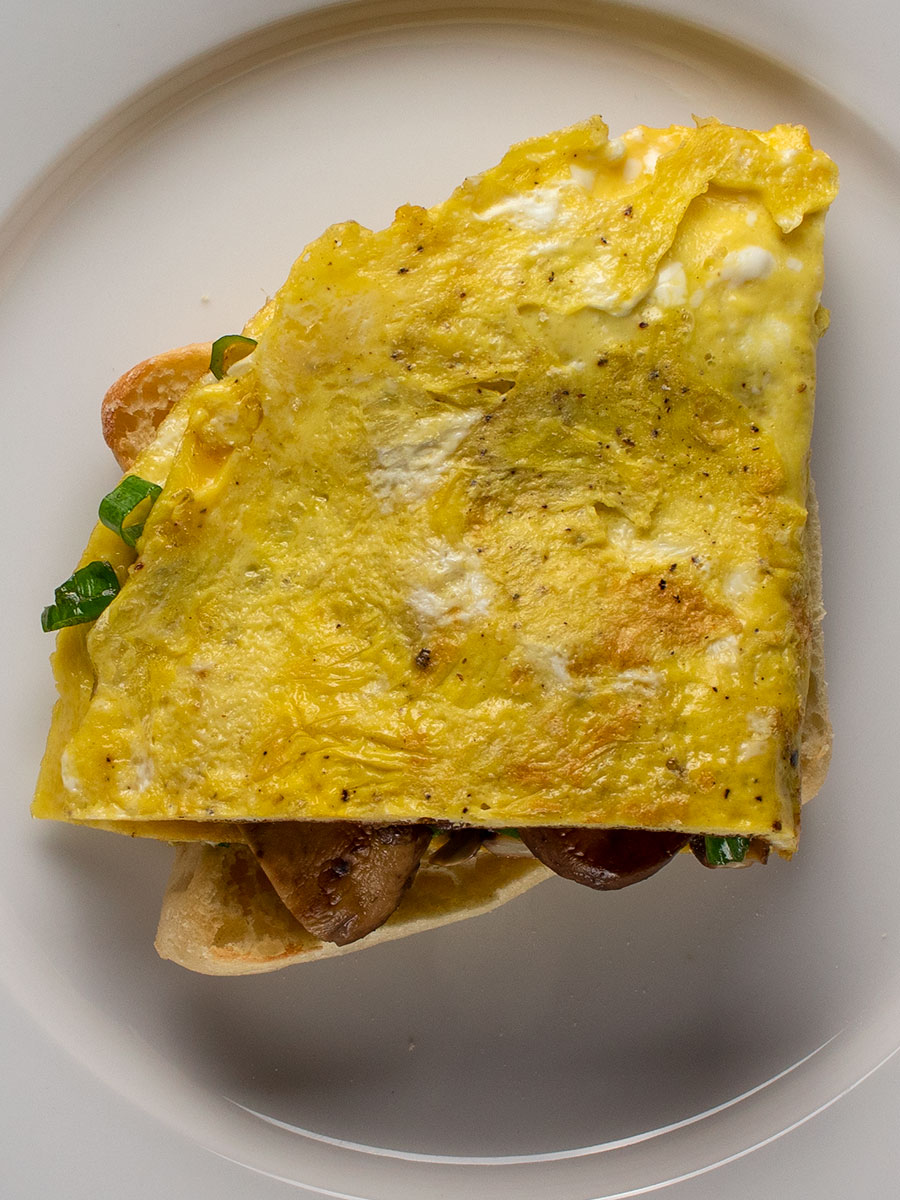
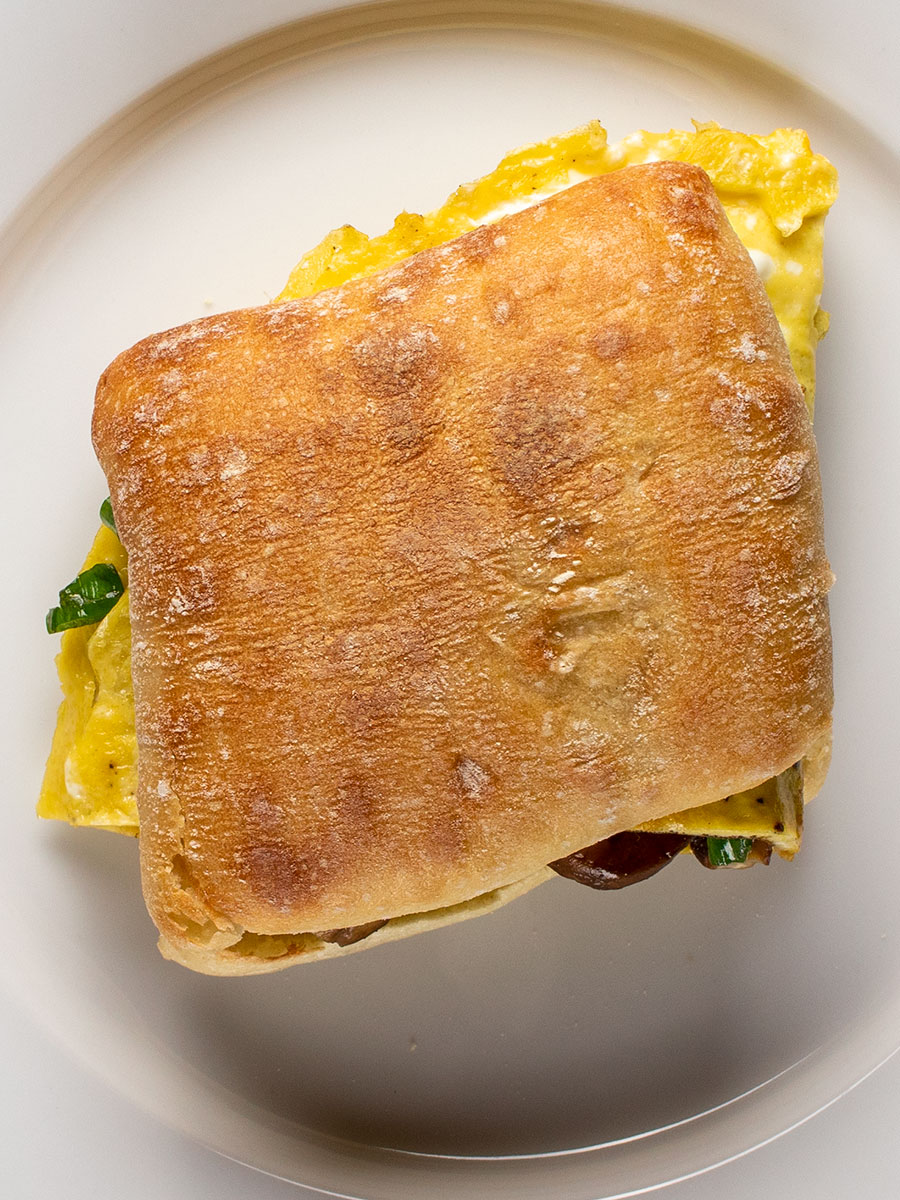
Finally, cut the omelette in half and place each half on a lightly toasted ciabatta roll. Cut in half, serve, and enjoy!
Substitutions & Additions
There’s one ingredient you can’t substitute here. If you did, you wouldn’t exactly be making what’s on this page. That ingredient is the ciabatta. As for a few other ingredients, you’ve got some options.
What to Substitute the Shiitake Mushrooms With
So many different types of mushrooms taste incredible when correctly cooked; white button, shiitake, baby bella, portobello, cremini, oyster, and others. I’m not going to tell you that this sandwich completely relies on shiitake if you can’t find them and are able to find some other variety. Whatever you use, just be sure to nicely brown them.
What to Substitute the Chives With
I actually find that scallions are a better value than chives. Rarely do I purchase chives. So in this case, I went with scallions and you can too.
Side Dishes That Complement Omelettes
There’s no shortage of ideas when it comes to what to enjoy as a side dish alongside your omelette. In this section, I’ll offer some ideas. If you’ve got more, please leave them in the comment section below.
- Side salad
- Hash browns
- Fruit
- Cheese
- Lunch meats
- Pan-fried spinach & muchrooms
- Baked beans
- Peas & sweetcorn
- Raspberries & honey
- Bread & butter
- Grilled tomatoes
- Grilled asparagus
- English muffin
- Vegetables
Drink Pairings for Omelettes
This is a huge topic because omelettes are far reaching. Sometimes, you just want to whip one up for a fast breakfast, other times you might be preparing something romantic for someone special. So really, intent matters most here. In general, if you have some buddies over your place and are making a hearty breakfast for them, offer some coffee, tea, orange juice, or milk. If you’re making a special breakfast for a significant other and would like to eat at your dining room table, choose some sort of wine. If the omelette filling is something light like cheese, sparkling wines like cava or Champagne are perfect. If your filling is more robust and includes mushrooms, bacon, or chorizo, you may want to go with a medium-bodied red, like merlot, pinot noir, or syrah.
Personally, when I think of eating an omelette, the almighty mimosa comes to mind.
Can You Store Leftover Omelette?
I’m going to tell you right now that it’s not ideal to store an omelette. Yes, you can do it if you want to place it in the refrigerator and eat it in a few hours after it’s been made, but nothing is as good as a freshly cooked omelette, straight from the pan. However, if you would like to store an omelette, know that you can store it in the refrigerator for up to four days and in the freezer for about three months. If you’ve added toppings such as meat or vegetables, reduce those times to three days or two months.
In the case of today’s recipe, you’ll be making an omelette sandwich on ciabatta bread. I don’t suggest refrigerating the ciabatta for more than a day or two or freezing it at all. Ciabatta is famed for its tender texture and storing it only hurts that. So what I’d suggest is, after making this wonderful omelette sandwich, eat it.
Mushroom & Chives Omelette on Ciabatta
Equipment
- 1 Chef's Knife
- 1 Cutting Board
- 2 Frying Pans
- 1 Fork
- 1 Medium Sized Bowl
- 1 Toaster
Ingredients
- 2 Ounces Baby Bella or Shiitake Mushrooms Sliced
- 4 Large Eggs
- 2 Tablespoons Chives Minced, Substitute with Scallions
- ½ Teaspoon Salt Divided
- ½ Teaspoon Ground Black Pepper Divided
- 1 Ounce Butter Divided
- 2 Ciabatta Rolls Split Lengthwise, Toasted
Instructions
- Break the four eggs into a bowl. Add half the salt and half the pepper and whisk well.
- Warm a frying pan over medium-high heat. Add half the butter to the frying pan and then add in the mushrooms. Add the other half of the salt and pepper. Stir and let cook for about five minutes or until the mushrooms begin to brown. Stir periodically. Basically, you want to soften and evaporate most of the water from the mushrooms while giving the edges some color. When finished, remove the pan from the heat.
- When finished, add the chives or scallions to the mushrooms and mix everything together.
- Warm another frying pan over medium-low heat. Add the remaining butter to the pan and then add the whisked eggs. Swirl the eggs around the pan so they cover the bottom and then let cook. When cooked through, you can either flip the omelette or leave as is. Just make sure it's cooked all the way through. Remove the pan from the heat.
- Pour the contents of the mushroom pan onto half of the eggs. Then, flip the omelette over them so you're left with a half circle. Cut the omelette in half.
- Toast the ciabatta and place half of the omelette on each roll.
- Serve and enjoy!
Notes
- This is a recipe from Mary Berry’s cookbook called “Complete Cookbook.” I slightly modified the recipe by allowing a substitution of scallions for the chives. Both are excellent choices.
If you tried this recipe and enjoyed it, please leave a positive rating as well as a comment down below. Let me know your thoughts and your ideas for making it even better. Thanks!


This looks very good! I’m definitely going to add it to my “must eat” list for this week’s cooking. Thanks!
Excellent, Jill! Good luck and let me know how it turns out. Jay
This Mushroom & Chive Omelette on Ciabatta was absolutely delicious! The earthy mushrooms paired perfectly with the fresh chives, and the crusty ciabatta added the perfect texture—definitely a new brunch favorite!