You won’t see it too often, but you will see it. Instructions to cut a carrot, celery, or pieces of French or Italian bread on the bias. On the bias? What does that mean? You’ve surely cut pieces of food straight across and probably even on a bias without know it. It’s not a tough concept to understand and in this post, I’ll help you with that understanding. I’ll explain everything you need to know.
What is a Bias Cut?
Most simply put, a bias cut is one on an angle (or diagonal). As I mentioned above, you’ve surely cut a carrot or zucchini straight across so you end up with nearly perfect rounds. If you were to angle your, say, French baguette, at 45° and then cut, you’d have a much longer piece. Take a look at the photos below. Moments ago, I cut a baguette on the bias.
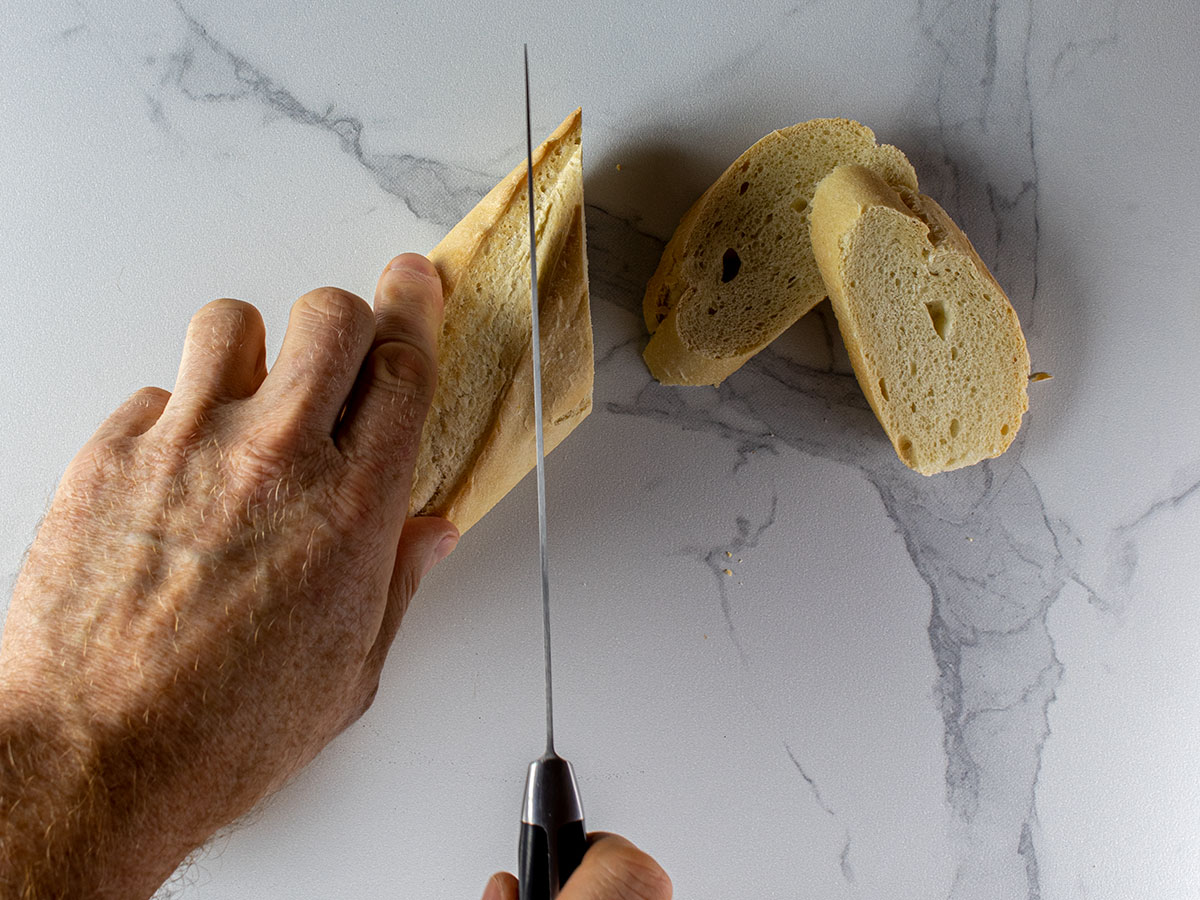
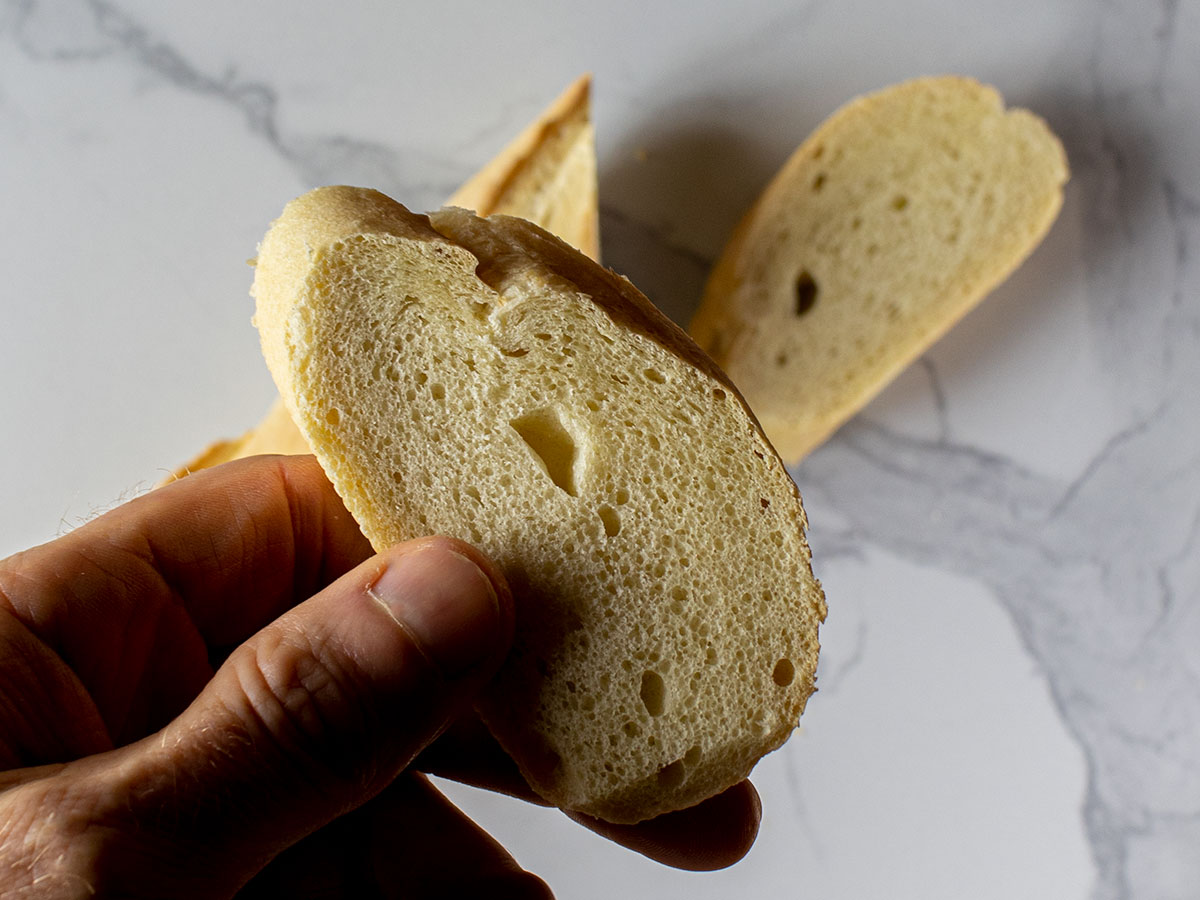
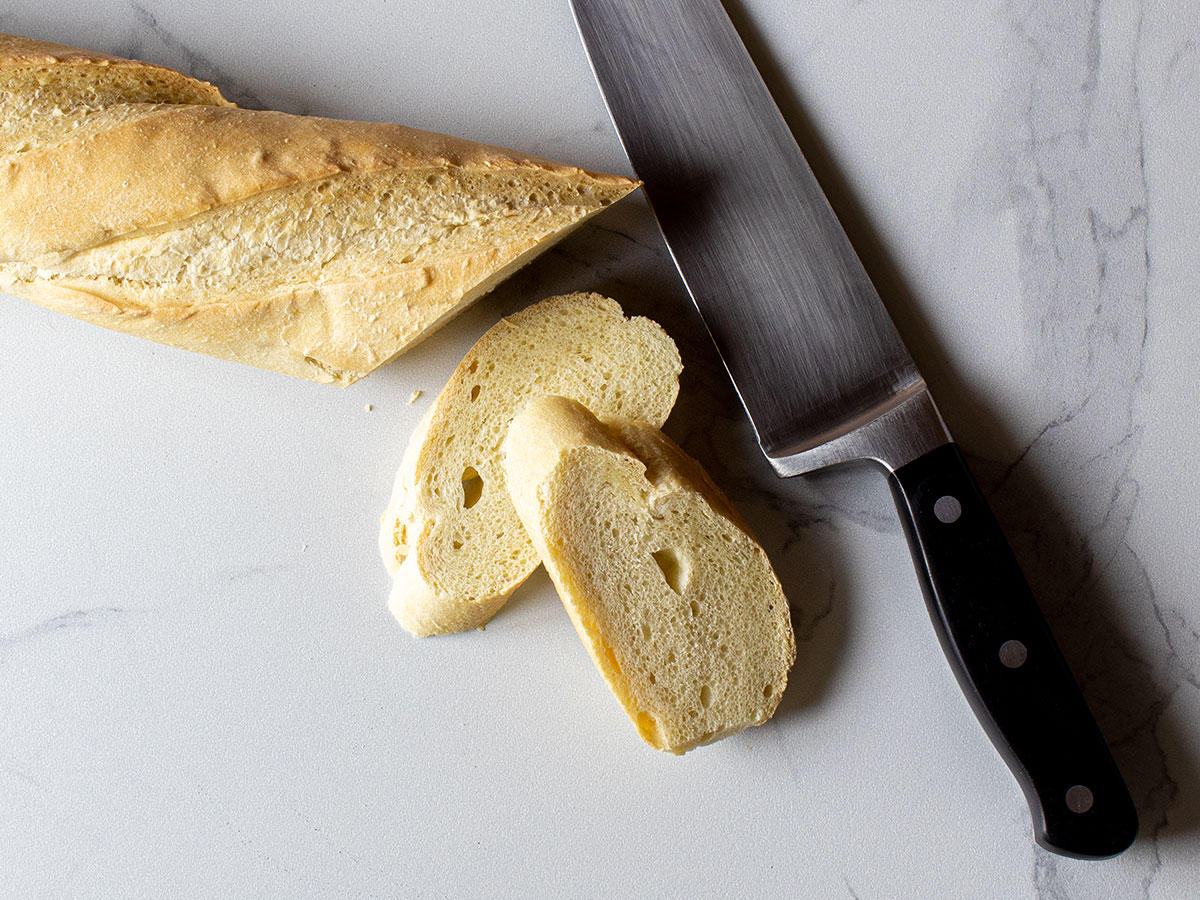
Do you see how I didn’t cut straight across? I cut on an angle and because of that, my pieces of bread have additional length than they would have had I traditionally made my slices.
Why Would You Want to Cut On a Bias?
There are two primary reasons a person might want to cut on a bias. Here they are:
- Elegance – Round cuts look pedestrian. If you asked a child to cut something, the child would cut straight across. If someone asked you to make a cut though, you’d cut on the bias, or diagonally. That’s because you’re fancy.
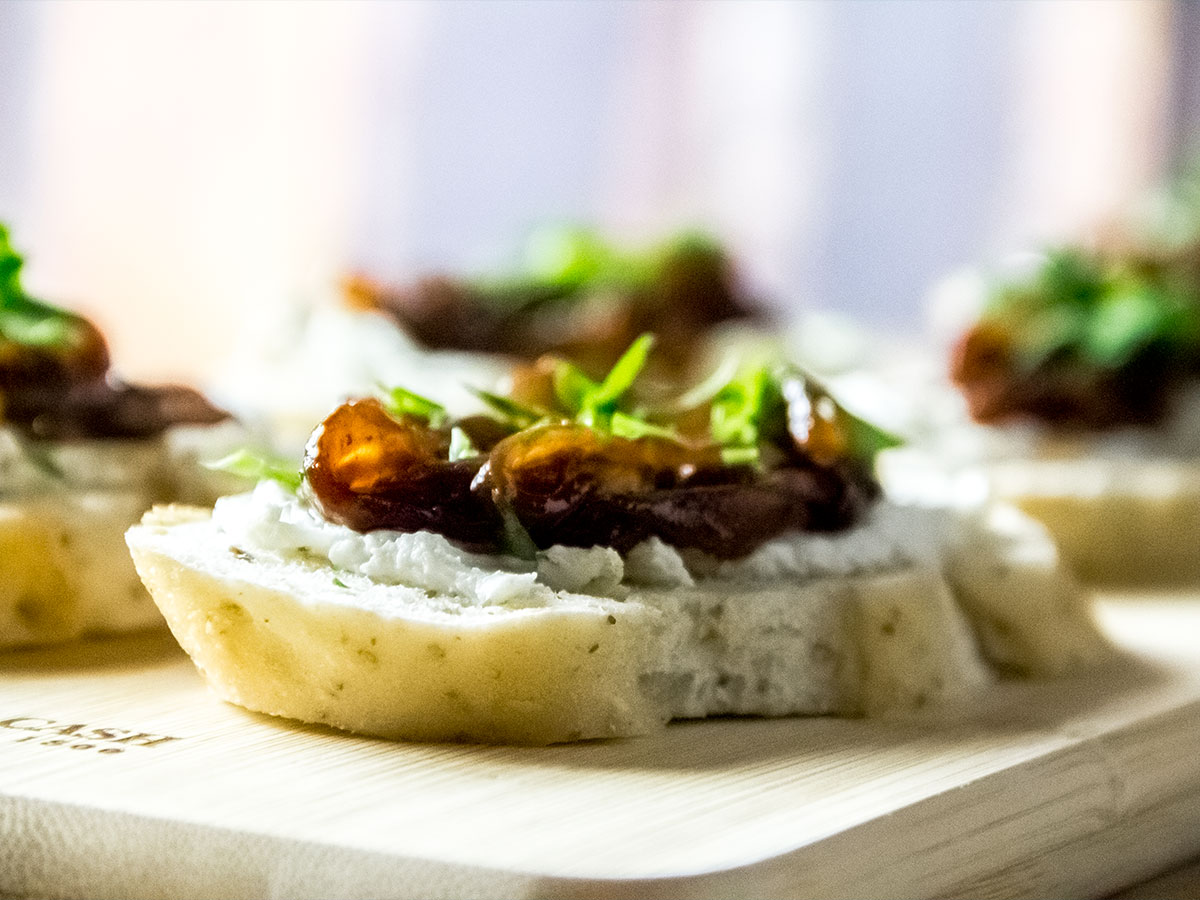
- Extra Space – This is probably most of the reason you’d cut like this. Round cuts offer only so much surface area upon which to spread your topping, such as cream cheese, butter, salsa – whatever. Diagonal cuts offer more room.
I’m not saying you’re going to get tons of extra room, but you’ll get some extra room. And as you plate your hors d’oeuvres and walk them toward your guests, they’ll certainly notice their elegance and additional topping.
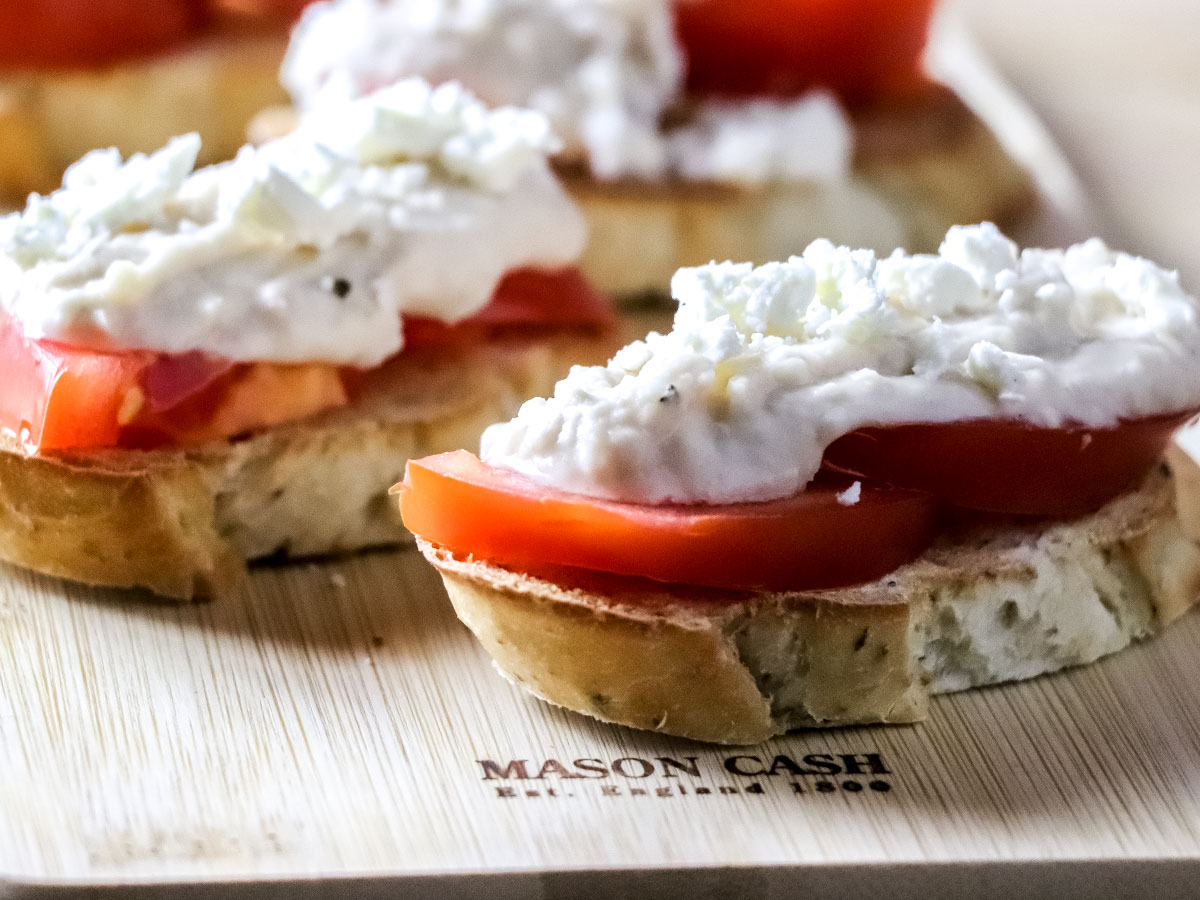
How to Cut on the Bias
I know this technique doesn’t really call for instruction, but I’ll add some anyway. It may be interesting for someone to read through. To cut on the bias:
- Place & Twist – Place the item you’d like to cut on a cutting board. Then, twist the item (zucchini, potato, celery, bread – whatever) to your desired angle. Shorter angles will result is less surface area. Extreme angles will result in more, but less firm, surface area.
- Make Your Cut – Press your knife across the item (so the knife is angled across the item) and push down. Slice through whatever it is you’re cutting.
- Adjust Your Thickness – Think about how thick your want each slice to be and then place your knife on the item again. Cut a second time.
- Keep Cutting – Continue cutting until you’ve run out of food. It’s that simple.
Again, remember that the more you angle the food, the more extreme the cut will be, weakening the edges of whatever it is you’re cutting. If it’s bread and you intend to place some sort of topping across each piece’s entire surface, be aware that the angled edges may slump somewhat. Otherwise, have at it and have fun.
Do you have any additional suggestions for cutting on the bias? If so, I’d love to read them in the comment section below. Thanks!

Leave a Reply